The rack
The rack is the left column of the window. It shows the modules of the selected channel. Each channel has its own rack. Click a channel in the clip launcher to see its rack.
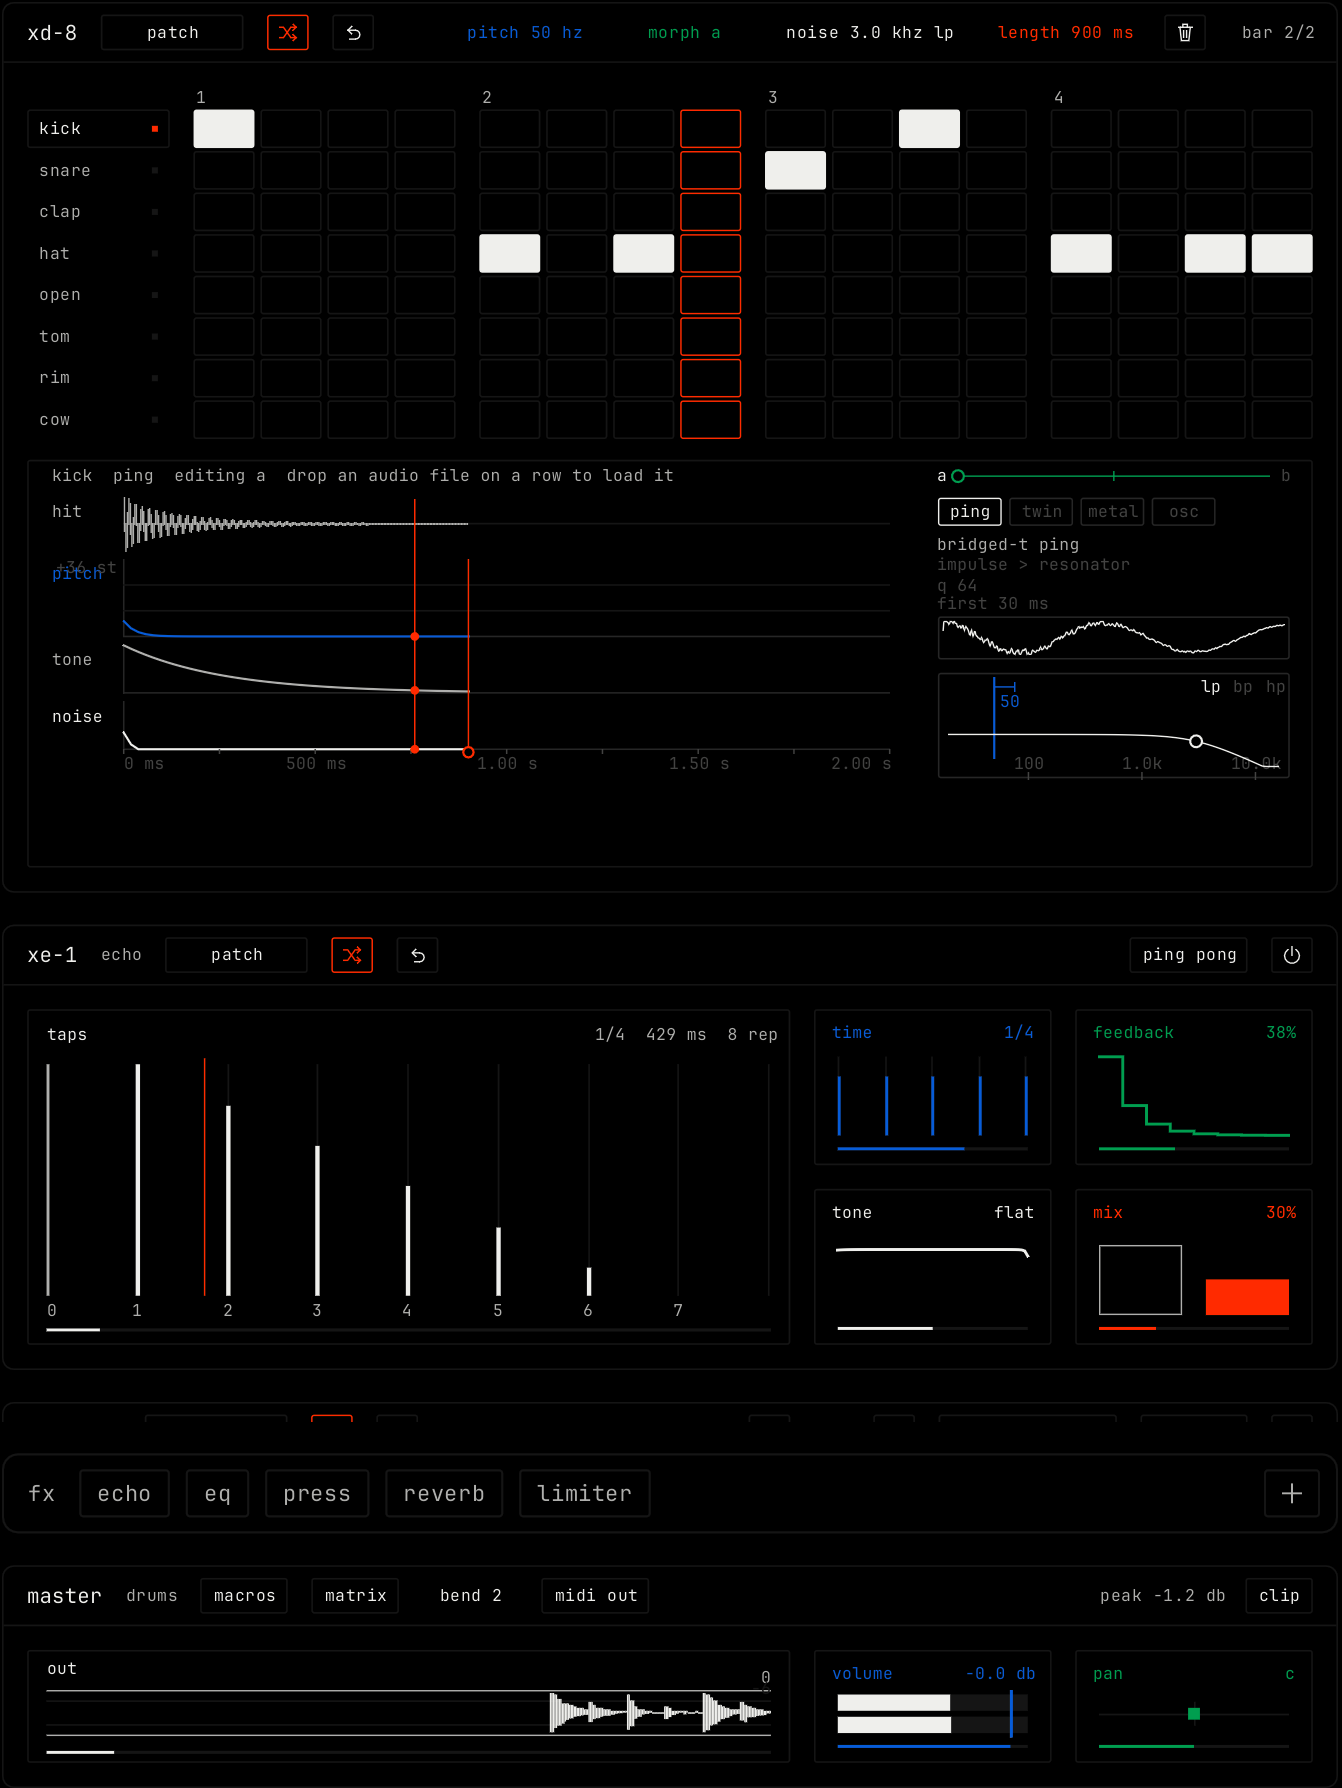
Order
- The instrument is at the top. It makes the sound.
- Effects come after it, in the order of the fx bar. Each audio effect changes the sound it gets from the module before it.
- Note effects change the notes before they reach the instrument.
- The fx bar and the master module are at the bottom. They always stay in view. Scroll the rack to see the other modules.
Pick an instrument
A new MIDI channel has no instrument. Its rack shows a card for each instrument, and your plugins under plugins. Click a card to load it.
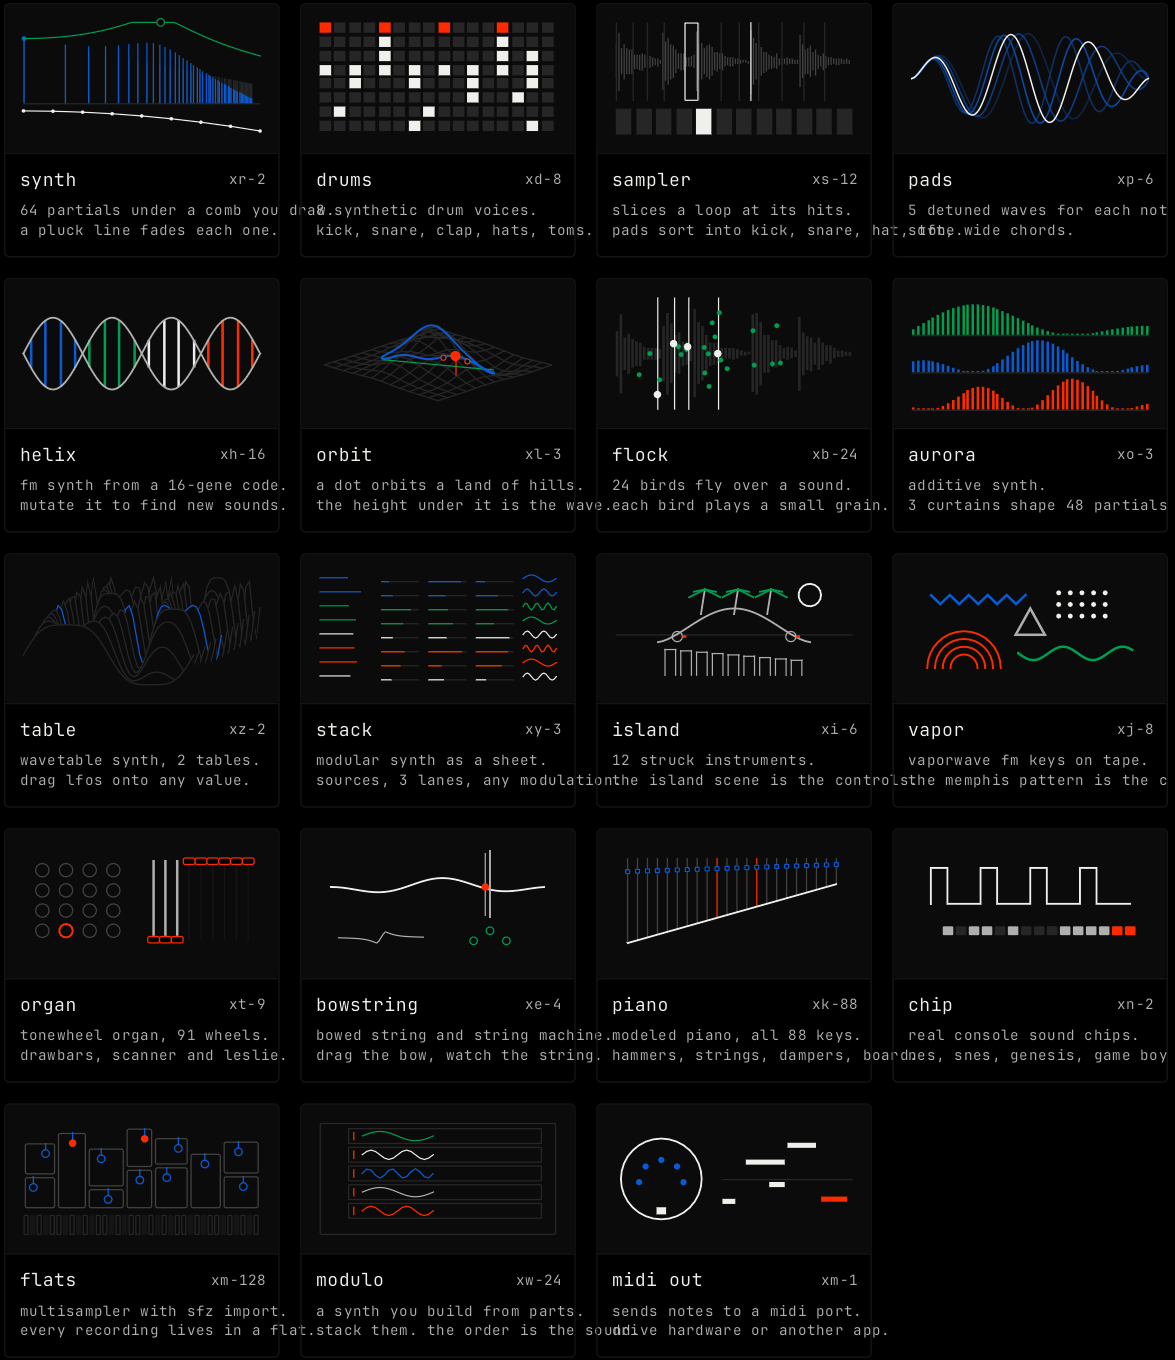
To change the instrument later, drag another instrument from the browser onto the channel. If you drop an instrument on an audio or return channel, launcher makes a new channel for it.
Add, move and remove effects
Click + at the right of the fx bar. The effect picker opens. The list on the left groups the effects. The right side shows the selected effect. Click add at end or add at start. You can also drag an effect from the browser onto a channel.
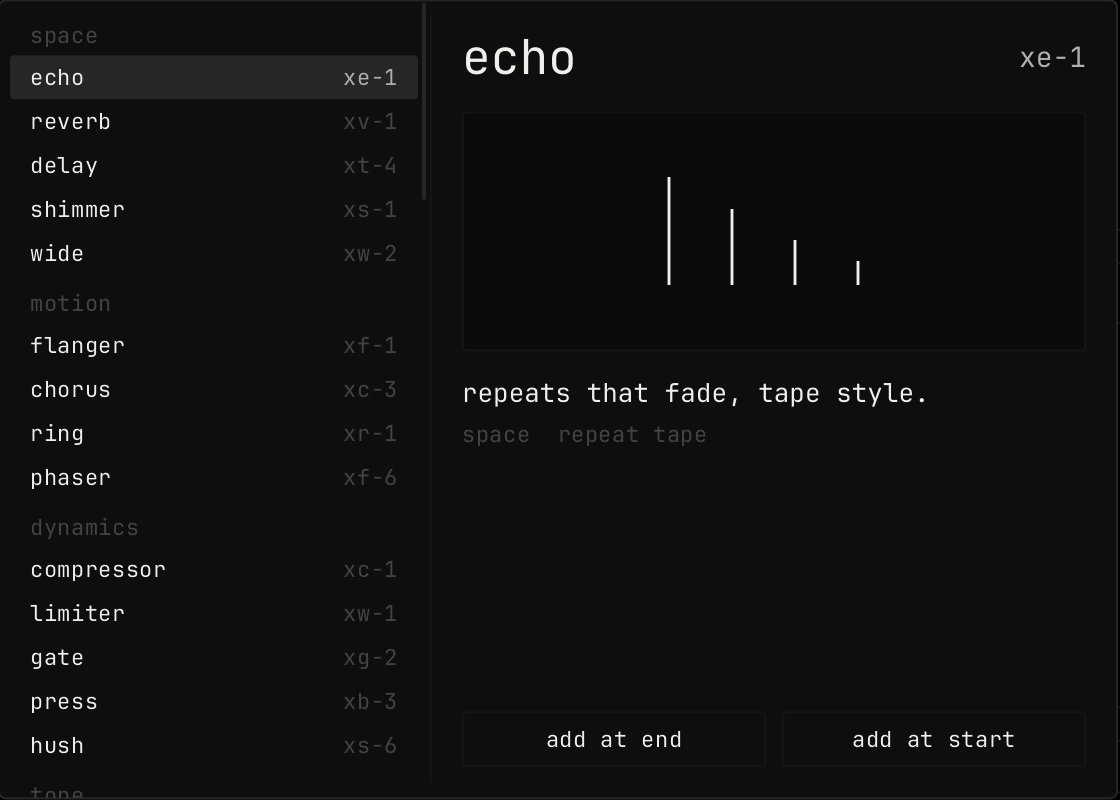
A note effect needs a channel with an instrument. To change a frozen channel, unfreeze it first.
The fx bar

| Action | Result |
|---|---|
| Click an effect | Scrolls the rack to that effect. |
| Drag an effect left or right | Moves it in the chain. |
| Right-click an effect | Opens a menu: rename effect, reset parameters, copy parameters, paste parameters, duplicate effect and delete effect. You can paste only onto the same kind of effect. |
| + | Opens the effect picker. |
A bypassed effect shows dim and struck through.
The module header

Each module has a header with its code. Effects also show their name. Every module except master has these buttons after the name:
| Control | What it does |
|---|---|
| patch | Shows the name of the patch. Click it for a menu with the factory patches and your own patches, under yours. The menu also has save as..., and for your own patches save, rename and delete. After you delete a patch, restore brings it back. Scroll over the button to step through the patches. |
| Random (shuffle icon) | Gives the module new settings. |
| Back (arrow icon) | Goes back to the settings before the last random or patch. |
| evolve | Makes small changes around the current sound. Back goes to the sound before. Only some modules have it. |
The other buttons and values in the header belong to the module. Many effects have a bypass button (power icon) at the right. Each module page lists them.
The shift layer
Some modules have a shift button in the header. It shows the second face of the module: every control that is not in the header, as a grid of small cells. Each cell has a title, a small picture and a few rows.
| Action | Result |
|---|---|
| Drag a value row sideways or up | Changes the value. |
| Click a choice row | Steps to the next choice. |
| Scroll over a row | Moves a value one step, or a choice to the next one. |
| Double-click a value row | Sets its default. |
Click shift again to go back to the main face. Each module page lists its shift cells.
Using controls
Most parameters are tiles or values you drag. They all work the same way.
| Action | Result |
|---|---|
| Drag | Drag right or up to raise the value. Drag left or down to lower it. |
| shift drag | Fine steps, ten times smaller. |
| Scroll | Changes the value. |
| Double-click | Sets the default value. |
| up down left right | Change the value in small steps when the control has focus. Hold shift for finer steps. |
| Right-click | Opens a menu for the control under the mouse: map … to midi, map … to key and automate …. When a link or a lane exists, the menu has the items to remove it. See MIDI and key mapping and Automation and modulation. |